
And what did I do on my birthday? Well, first I woke up early to join the community association people to weed the local shrine. Yup, me and a group of geriatrics sure showed those weeds a thing or two.
After that...
I cleaned my room.
The wife has been on me to clean up 'my room' for some time, and you can see why.

This is where the magic happens. However, I misplaced the magic somewhere and haven't been able to find it since. Okay, I guess she has a point. This time...
So I started on the most important part first; My gunpla work table.

This pictures doesn't show the scope of the work I had cut out for myself. There were some interesting things amid the jumble of gunpla tools and supplies on this table. For example:

This came with the MG GM Ver 2.0 that I picked up some time ago. What do I do with it?
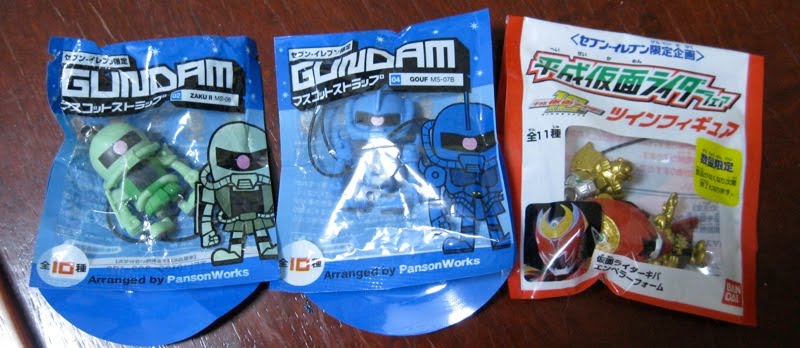
Here are some various 限定 items that come with 500ml teas and things. Ebay here we come!

Oh yeah. My Zaku Cannon. I still intend to build this guy. In fact, I have been itching for some Zeon action recently, after building mostly 'good guys' for the last little while. Once the Musha MKII is finished (when will that be?) I will jump all
over this kit like Oprah on a baked ham.
Some other discoveries:

Receipts for the money orders I sent off to Bandai when I needed parts for myself or fellow gunplars. Why do I keep these?

Old, used, and dirty sandpaper. I thought I threw these away...
After a fair bit of digging I discovered a grisly scene.

Buried beneath rubble was this HGUC Eco Gundam. Judging from his position, his death must have slow and painful. Let's have a moment of silence.
But it wasn't all doom and gloom and tales of woe. I found these cool things!

Some time ago I received an envelope from Australia. The good sir at the Gundam Australia Forum sent me a care package consisting of what you see here. Some nameplates to go with my custom Sinanju, a sanding stick (already put to good use!), a Gundam Australia laminated mini poster (which may end up on my cubicle wall at work) and Gundam Australia.com stickers! Aw yeah! The Gunplar community is strong.
After a couple hours of organizing, reshuffling, discarding, prioritizing, net-surfing (ssshhh.), and things that could be considered housework, I arrived at this point.
The Corner:
Before & after:


The Desk:
Before & after:


The Shelves (they're behind the table):
Before & after:


And this:

became this:

The magic has returned, baby!


