Enjoy the next week everyone!

Page hits. I feel popular!

Friday, August 6, 2010
Vacation Time!
I really need a break after finishing the Musha Mk-II so I am on vacation for a week. As such I won't be updating this blog until I return.
Wednesday, August 4, 2010
Musha Mk-II Gallery

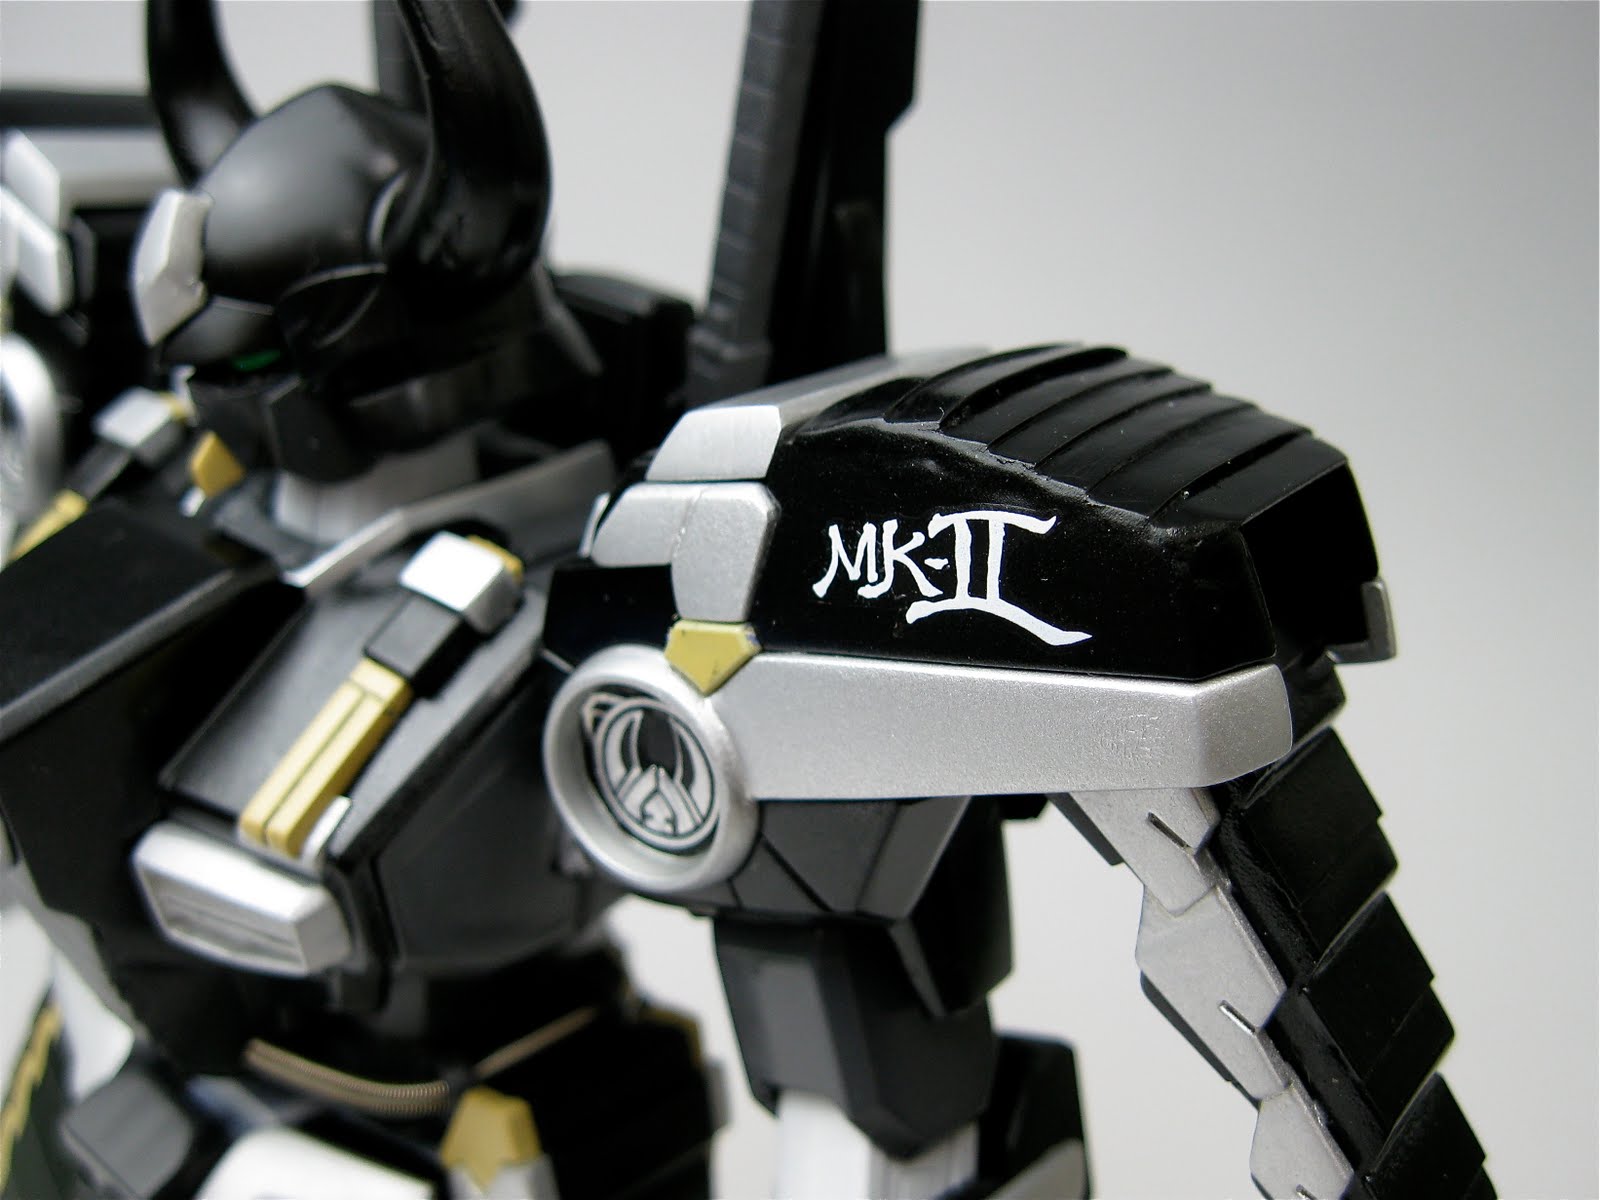
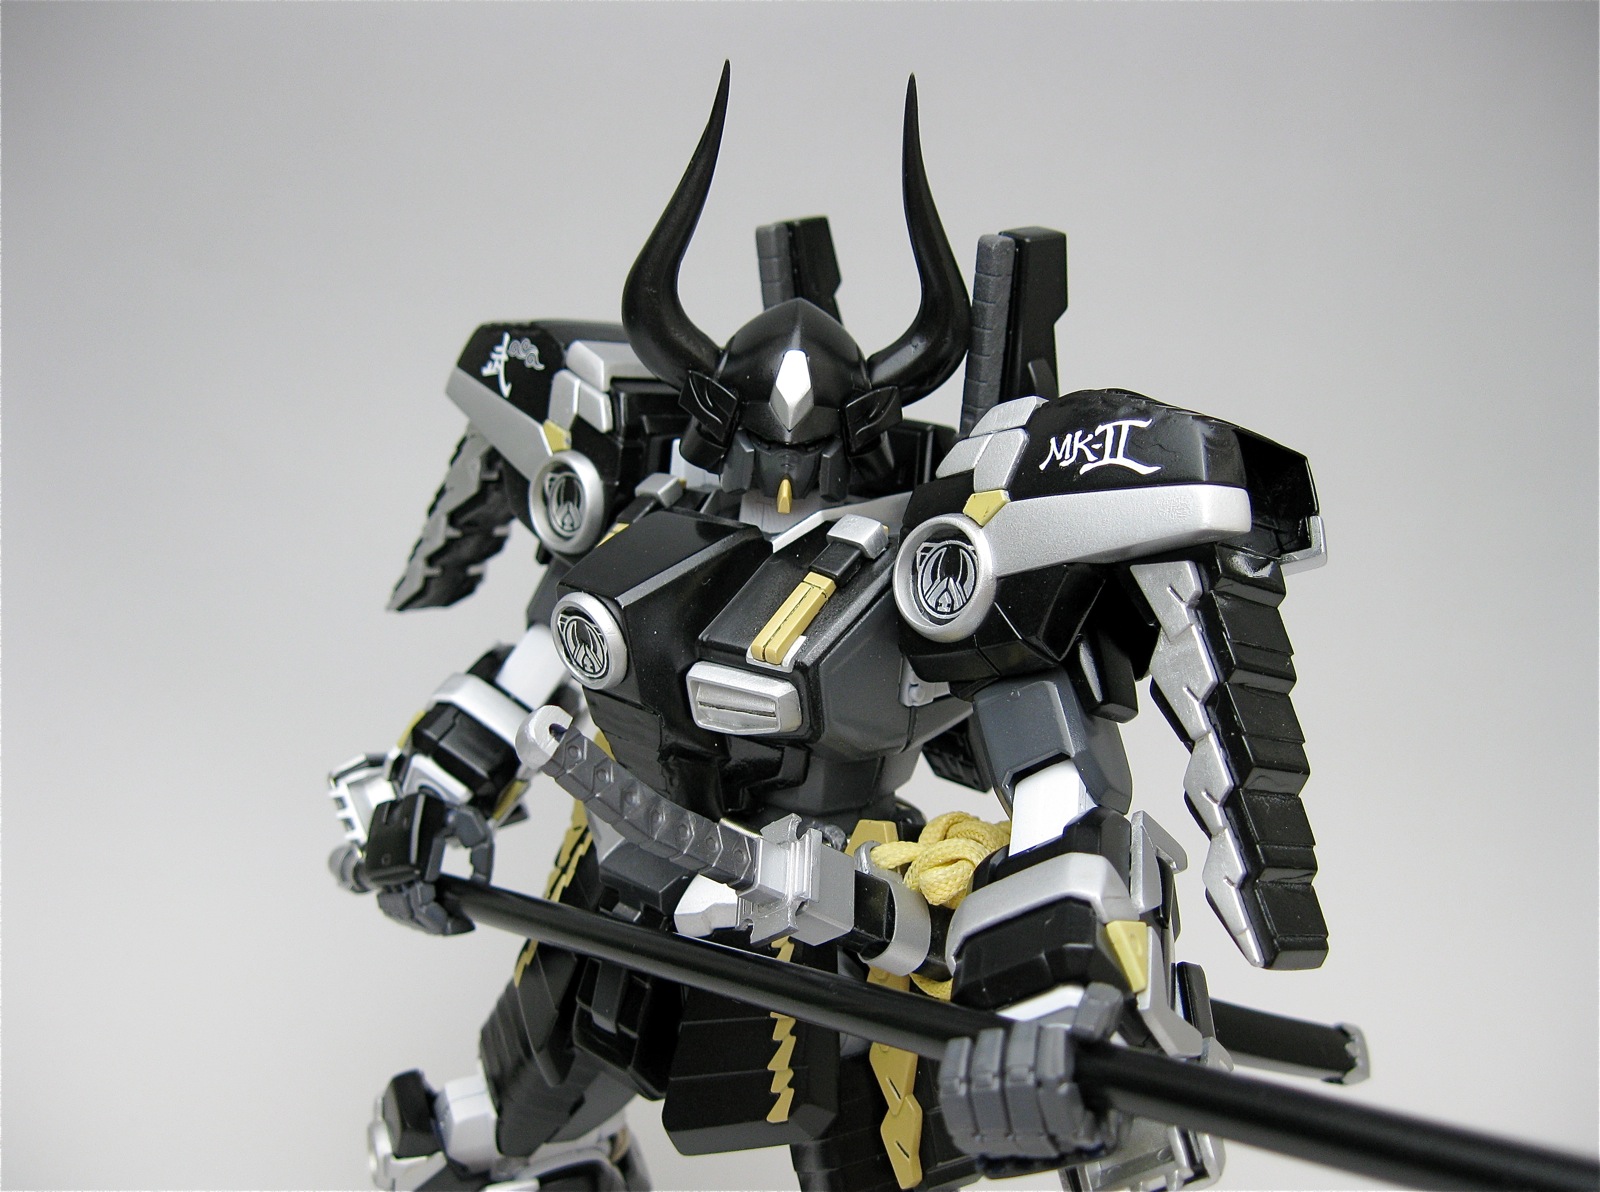
Here he is, the Musha Mk-II Gundam! This kit saw my first real attempt at using epoxy putty, with better than anticipated results, as well as the use of aftermarket parts.
Frame: Tamiya TS-26 Pure White - I wanted this to represent the clothing that the samurai would wear underneath their armour.
Armour: Tamiya TS-29 Semi Gloss Black, TS-4 German Gray, TS-30 Silver Leaf, TS-46 Light Sand
Decals: Used sparingly. Anything white is the official Bandai waterslides while samueldecal.com provided the silver decals which I used on the emblems.
Other: Kotobukiya Mesh Pipe and Wave Springs

Here's the pic I used on which I based my design and colour scheme.
Here are a couple of comparison shots to show the work done to this kit before painting began.

 You can see where I puttied to fill in one of the gaps on the feet. I then used decals to make it look like a cord so it would resemble geta, or japanese footwear.
And here's what I did to the tsuba and the sageo (rope) that affixes the tachi to the mobile suit.
 And yes, that knot is tied correctly and it took some time to do it. Damn my big hands!


Monday, August 2, 2010
MG Musha MK-II Step 8: Tying one on!
As this kit is supposed to resemble samurai armour I wanted to do something to the waist area to make it look like it had an obi (belt) of some kind. I detailed here how I modified the waist and chest pieces so now, in this post, I will detail how I got this contraption together.


I had been pondering how to construct it while laying in bed each night (yes, I think about gunpla while drifting off to sleep) so before I even started on it I had a good idea of how I would do it and what I would need.
And all I really needed were some brass rod and a couple of staples.
Step 1: Run the metal spring through the loops as we practiced earlier.
You'll notice the brass rod's length matches the length of the spacing between the belt loops on the side of the waist. I decided to do this because I am going to be hanging the tachi from the belt and if it was just spring the weight of tachi would cause the spring to stretch and sag. This brass rod will be more than enough to support the weight of the tachi.
Step #2: Insert the brass rod.
The 1.5 mm diameter brass rod is just the perfect size to slide into the spring. I had to use a toothpick to push it into the right area so that the belt loops support both ends of the rod. Then I repeated the process for the other side. The Tachi can now hang from either side of the waist.
Step #3: Attaching the spring to the front armour.

This is where the staples come in. I inserted the end of the spring into the hole I had drilled in the front chest armour piece. Then I slid the staple through it perpendicularly so that it acts as a stopper, preventing the spring from coming back out.
Then I repeated the process for the other side.

To get this onto the frame I first attached the front armour to the torso and then attached the waist armour onto the skirt. And Voila! My musha has himself a belt!
Unfortunately, I don't have a good quality pic to show how it turned out. On the plus side, the painting and decaling and assembly is finished. I should have a completed gallery up any day now, although I still have some work to do on the weapons. The construction of the tachi and naginata has been finished and the painting and topcoating completed. I need to tie the sageo (cord) to the tachi and then secure it to the belt and I also need to put the extra-long Naginata together. Hopefully that will be finished tonight!
Wednesday, July 28, 2010
MG Musha MkII Step 7: Painting
 So I've called an end to my modifications and moved onto the final stages of the build; painting. For the main armour color I am going with Tamiya Semi Gloss Black and to give that armour a smooth finish, I resanded the pieces with 1500 and 2000 grit paper before priming. For pieces to which modifications had been done I used Mr. Surfacer before laying the paint down and for pieces that had no mods done I used Tamiya Primer. The secondary armour colour is Tamiya German Gray. For these pieces I used Taimya Primer White as a base and I also used the White Primer for the pieces that are being sprayed with Tamiya Light Sand. Yes, you read that correctly. Light sand.
 Here's the largest armour piece for the leg. What you can't see well from this picture is that before painting I drilled a tiny, shallow hole in two places along the shin area. This is for... well, you'll see.
Here's the backpack. I wasn't too big a fan of the backpack design on this kit, but it has grown on me and fits the overall design. That semi-gloss black comes out really nice, too.
 Another piece of the backpack. The entire backpack will be Black except for the metal springs I have used and one piece which I am painting German Gray for contrast.
And the kind gentleman at Samuel Decal sent me a sheet of Musha MkII decals. In silver! No gold to be seen anywhere!

Unfortunately, I was so busy priming, painting, painting again, top coating and starting the whole process over on the next set of pieces that I didn't take many pictures of the process. I'll try to get more up soon. Next blog entry will detail how I got the Obi, or belt, to work. And it worked, let me tell ya!
Why not a preview?


Subscribe to:
Posts (Atom)